Today we will be discussing about Java RMI Server.
What is RMI Server?

According to Wikipedia, Java Remote Method Invocation (RMI) is
“A Java API that performs the object-oriented equivalent of remote procedure calls (RPC), with support for direct transfer of serialized Java classes and distributed garbage collection.”
What is Remote Procedure Call?

Again, according to Wikipedia, Remote Procedure Call is:
“An inter-process communication that allows a computer program to cause a subroutine or procedure to execute in another address space (commonly on another computer on a shared network) without the programmer explicitly coding the details for this remote interaction.”
Long story short, Java RMI / RPC allows an Class to invoke (access) methods from another server as if the methods is placed on the same machine as the Class itself.
Disclaimer: The code that we will be using is adopted from Oracle website, with the link as follows: http://docs.oracle.com/javase/7/docs/technotes/guides/rmi/hello/hello-world.html
The reason why am I using the existing example from Oracle instead of creating a new one on my own is that I found out that it may not be easy even to complete the example and understand it even you have fully followed the tutorial.
Another thing that worth mention is that the example on Oracle itself is enough to start the RMI Server and it can be executed without making any changes.
I have tried running several examples from other websites as I have read that there are quite a number of important changes that have been made to Java RMI server since Java 5.0.
Important changes such as:
java.rmi.server.useCodebaseOnlyis set to true by default
By default since Java 5.0, the useCodebaseOnly is set to true, which meant that java will only execute the files that located in the same code base.- Dynamic Generation of Stub Classes
The fundamental principles for communication of RMI Architecture objects is the usage of Stub Classes. Stub can be known as the “skeleton” of the code that both the Client and Server referred to in order to perform the remote calls. Since java 5.0, the generation of stub is done dynamically when compiling and does not require extra effort of creating the files like previous version.
As mentioned above, you can retrieve the files needed for the demonstration direct from Oracle website:
- Hello.java – Remote Interface
- Server.java – A remote object implementation that implements the remote interface
- Client.java – A simple client that invokes a method of the remote interface
Or you can just copy from below:
Hello.java
import java.rmi.Remote;
import java.rmi.RemoteException;

public interface Hello extends Remote {
    String sayHello() throws RemoteException;
}
Server.java
import java.rmi.registry.Registry;
import java.rmi.registry.LocateRegistry;
import java.rmi.RemoteException;
import java.rmi.server.UnicastRemoteObject;

public class Server implements Hello {
    public Server() {}

    public String sayHello() {
        return "Hello, world!";
    }

    public static void main(String args[]) {
        try {
            Server obj = new Server();
            Hello stub = (Hello) UnicastRemoteObject.exportObject(obj, 0);

            // Bind the remote object's stub in the registry
            Registry registry = LocateRegistry.getRegistry();
            registry.bind("Hello", stub);

            System.err.println("Server ready");
        } catch (Exception e) {
            System.err.println("Server exception: " + e.toString());
            e.printStackTrace();
        }
    }
}
Client.java
import java.rmi.registry.LocateRegistry;
import java.rmi.registry.Registry;

public class Client {
    private Client() {}
    public static void main(String[] args) {
        String host = (args.length < 1) ? null : args[0];
        try {
            Registry registry = LocateRegistry.getRegistry(host);
            Hello stub = (Hello) registry.lookup("Hello");
            String response = stub.sayHello();
            System.out.println("response: " + response);
        } catch (Exception e) {
            System.err.println("Client exception: " + e.toString());
            e.printStackTrace();
        }
    }
}
First, let us try to compile using Terminal (I’m using Mac OS here, but the command should be the same for Windows)
For the sake of simplicity, we will place all the .java files inside same directory (In this case, “simpleRMIExample”)
Then, we will compile it separately for Client.java and Server.java and place it inside two different folder, namely client and server.
Create folders for client and server:
mkdir client && mkdir server
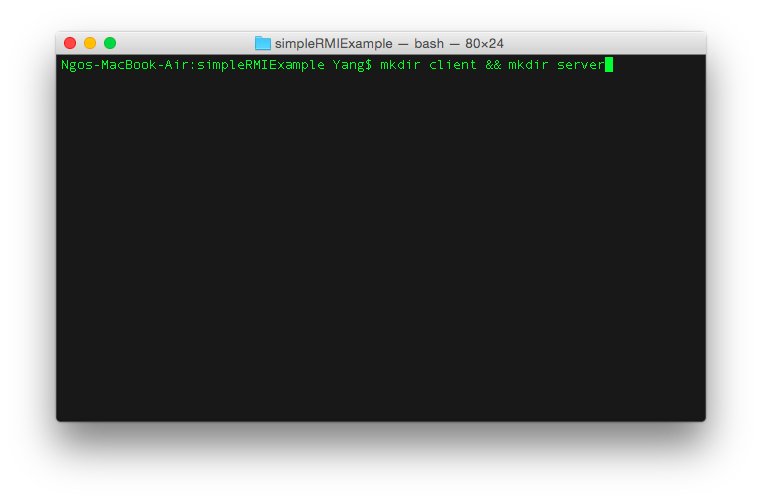
The above are actually made up of 2 separate commands:
mkdir client and mkdir server
However using the “&&” sign, we are able to execute these 2 command consecutively.
Compiling Client.java:
javac Client.java -d client/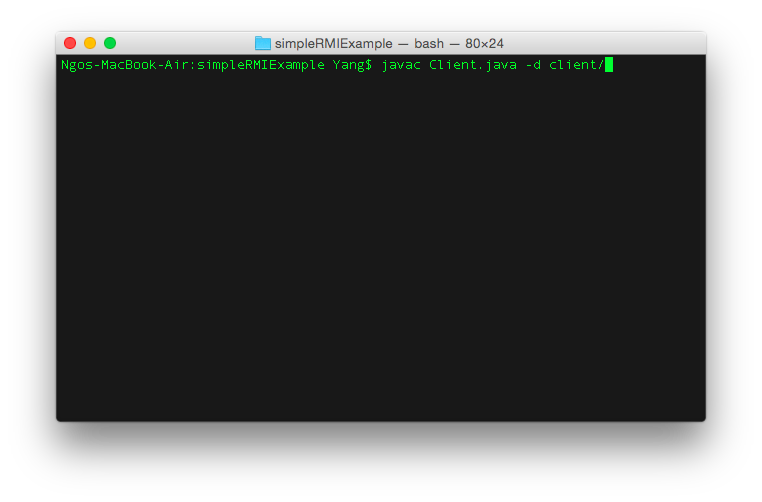
With the above command, we will compile the file (Client.java) and place it under directory “client” by appending the “-d client/” command
The same applies for compiling Server.java:
javac Server.java -d server/After compiling, when you are browsing through the folders, you will find that both folders contained “Hello.class” in addition to their own “Client.class” / “Server.class“.
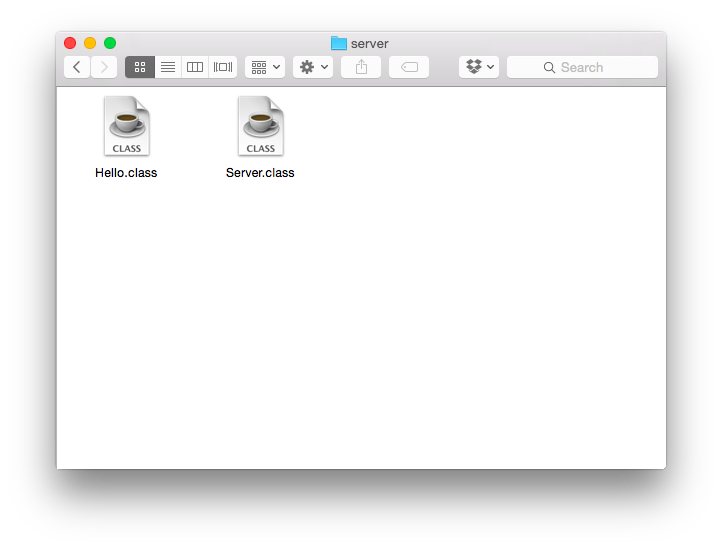
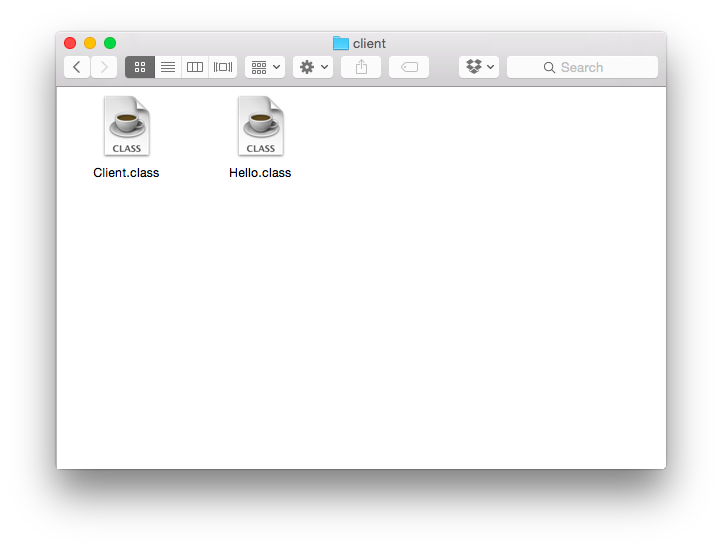
Next, open another terminal and run the “rmiregistry” command to start the rmi server. (Will update if better implementation is found)
[Note: you must start the rmiregistry at the same directory as where your “Server.class” files is located]

Then we will proceed to run both the compiled files (“client” and “server”)
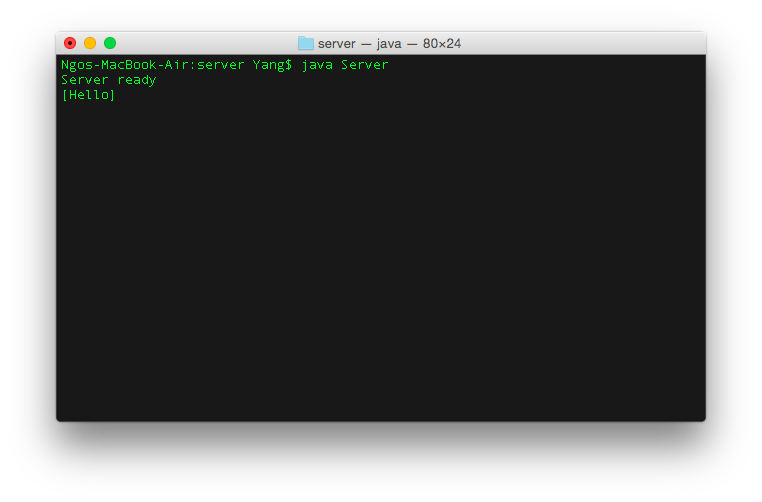
Starting a new terminal to run the Server (remember to change your directory to “server”, using cd server/ command)
java Server
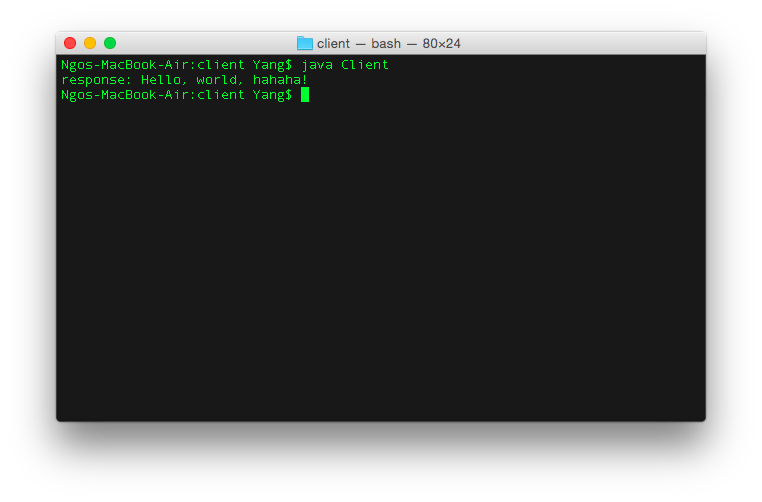
Next, start another new terminal to run the Client (remember to change your directory too)
java Client
Results is as follows:
Congratulations, you have just completed your first RMI Communications!
Feel free to comments on any issues that you have faced for further discussion.